Why a Well-Crafted Tech Pack Matters in B2B Apparel Production
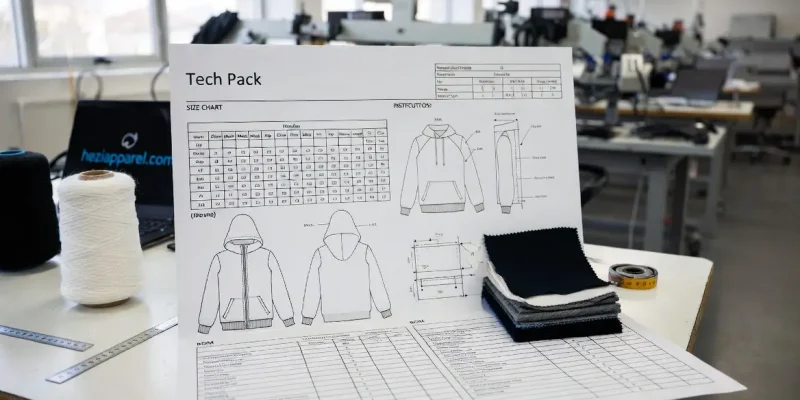
In the competitive 2026 apparel market, a Tech Pack is no longer optional—it is the single document that translates your brand vision into factory-ready production. From our perspective on the production floor at a full-service OEM/ODM facility, an incomplete Tech Pack is the leading cause of 35-45% higher sampling rejection rates and 15-25% cost overruns. A professional Tech Pack that includes detailed size charts, sewing instructions, and a precise Bill of Materials (BOM) eliminates guesswork, shortens development cycles from 6 weeks to 3 weeks, and ensures your first production run meets exact specifications.
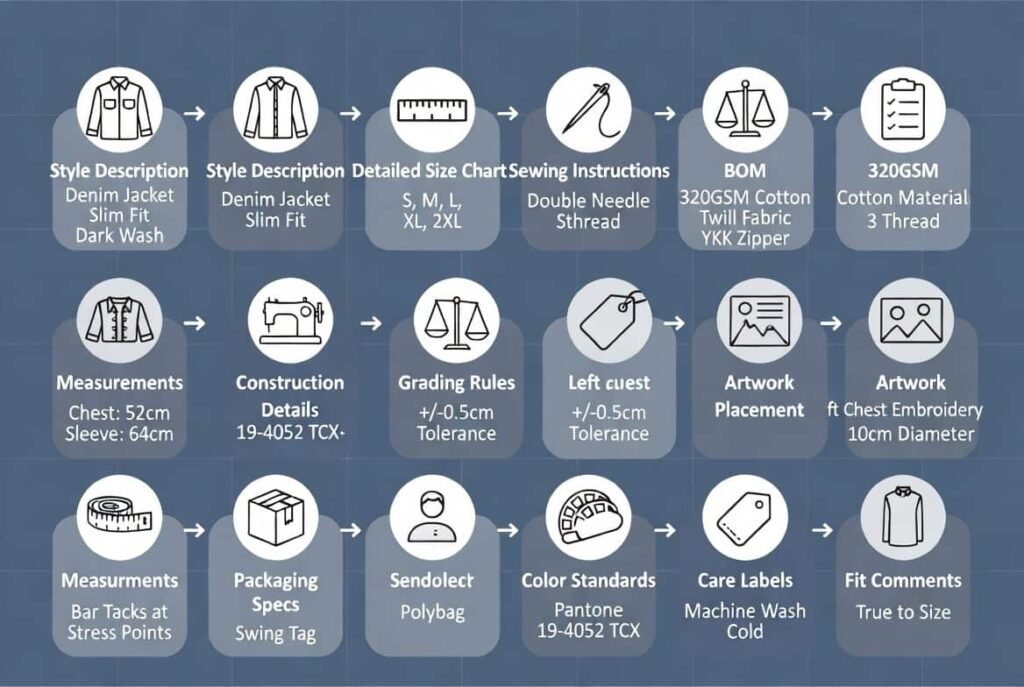
This guide walks you through 10 essential steps to build a Tech Pack that procurement managers and product developers trust. Every section is written from the supply-chain viewpoint, with quantifiable data on GSM, tolerances, MOQ implications, and cost intervals so you can make informed decisions before sending your first inquiry.
Step 1: Start with Style Overview and Target Specifications
Begin your Tech Pack with a one-page style summary: product name, target price point ($18–$45 wholesale), end-use (streetwear, active, premium casual), and reference samples. Include 3-5 high-resolution sketches or 3D renders.
Factory tip: Specify GSM range upfront (e.g., 280–420GSM for hoodies). This single data point directly impacts yarn consumption and knitting machine gauge selection, influencing your landed cost by 8-12%.
Step 2: Build the Detailed Size Chart
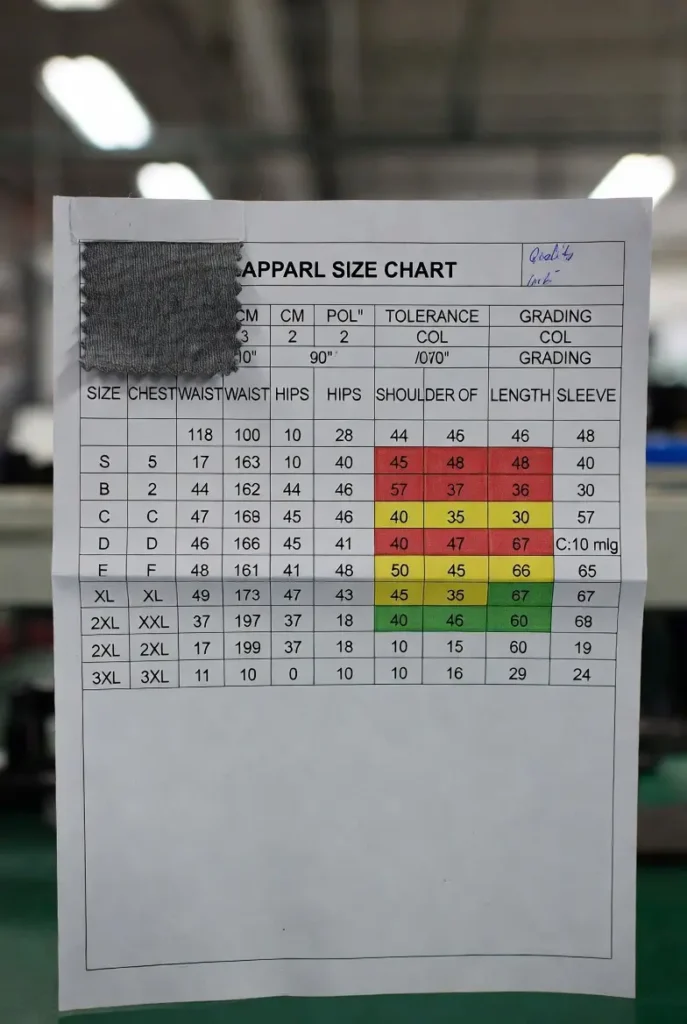
A complete size chart is the backbone of any Tech Pack. Use a minimum of 7 sizes (XXS–3XL) with measurements in both cm and inches. Critical points include:
- Chest (1″ below armhole): +/- 0.5cm tolerance
- Body length (HPS): +/- 0.75cm
- Sleeve length: +/- 0.5cm
- Grading increment: 2cm per size for most streetwear silhouettes
Example Size Chart Snippet (Hoodie – 320GSM French Terry):
| Size | Chest (cm) | Body Length (cm) | Sleeve (cm) |
|---|---|---|---|
| S | 108 | 68 | 64 |
| M | 112 | 70 | 65 |
| L | 116 | 72 | 66 |
From production data, brands using graded size charts with tolerances see 28% fewer fit adjustments in sampling. Always include a “fit model” reference (height/weight) and tolerance table—our QC team uses this to approve 98% of first samples on the first submission.
Step 3: Define Grading Rules and Measurement Points
List every measurement point (usually 18–24 for a hoodie) with front/back/side views. Specify grading rules explicitly: e.g., “Chest grade 2cm, armhole 1cm per size.” Poor grading causes 20% fabric waste in cutting rooms. Include a grading chart as a separate Excel tab in your Tech Pack.
Step 4: Create Precise Sewing Instructions and Construction Details
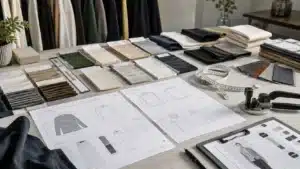
Sewing instructions must be visual and specific. Use exploded diagrams with callouts:
- Seam type: 4-thread overlock + 1/4″ single-needle topstitch
- Stitch density: 10–12 SPI for main seams
- Thread type: 100% polyester core-spun, Tex 60
- Seam allowance: 10mm unless noted
Quantifiable impact: Clear sewing specs reduce sewing defects from 12% to under 3% and cut production time by 18% per garment. Include a full construction sheet with front/back views and numbered operations.
Step 5: Develop the Bill of Materials (BOM)
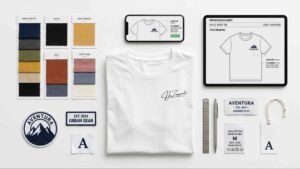
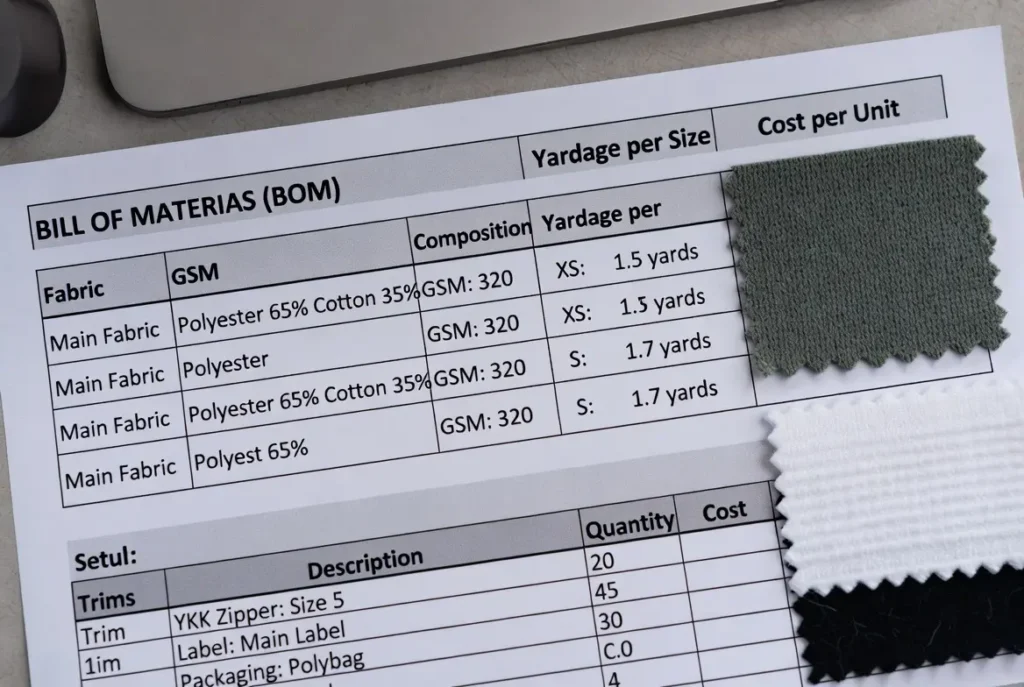
The BOM is where cost control happens. List every component with:
- Fabric: 320GSM 100% organic cotton French terry, 150cm width, 2.8 yards per dozen (size M)
- Trims: YKK #5 metal zipper, 18″ length, gunmetal finish
- Labels: Woven main label + printed care label, 100% cotton tape
- Packaging: Individual polybag + carton (50pcs/carton)
Typical cost intervals: Detailed BOM keeps fabric variance within ±5%; without it, suppliers add 8-15% buffer. Always include supplier reference numbers and approved color standards (Pantone + lab dips).
Step 6–8: Add Artwork Placement, Color Standards, and Care Instructions
Specify print/embroidery placement with measurements (±2mm tolerance) and vector files. Provide Pantone references and approve lab dips before production. Care labels must follow ASTM standards to avoid 100% liability claims.
Factory data: Brands that include digital print files in the Tech Pack achieve 95% color accuracy on first run versus 65% without.
Step 9: Include Fit Comments and Revision History
Add a dedicated page for “Fit Comments” with photos of sample on fit model. Maintain version control (Tech Pack v2.3) to track changes—our team references this daily to prevent miscommunication.
Step 10: Final Quality Assurance Checklist and Packaging Specs
End with a QC checklist covering appearance, measurements, and packaging. Specify carton dimensions and pallet stacking limits to control shipping costs.
Comparison Table: Good Tech Pack vs. Incomplete Tech Pack
| Aspect | Professional Tech Pack | Incomplete Tech Pack | Production Impact |
|---|---|---|---|
| Size Chart | 7 sizes + tolerances + grading | 3 sizes, no tolerances | 28% fewer fit rejections |
| Sewing Instructions | Diagrams + SPI + seam types | Text only | Defects drop from 12% to 3% |
| BOM | Full specs + yardage + refs | Fabric name only | Cost variance ±5% vs. ±15% |
| First Sample Approval | 85% on first submission | 40% on first submission | Development cycle 3 vs. 6 weeks |
| MOQ Flexibility | Supports 100–500pcs with stock fabric | Requires 1000pcs minimum | Ideal for startups |
Procurement Decision Guide by Brand Stage
- Startups (first 3 collections): Focus on core Tech Pack with size chart, BOM, and sewing instructions. Use our existing 280–420GSM inventory to drop MOQ to 100pcs.
- Growth brands: Add grading rules and artwork files to support 500–2000pcs runs.
- Mature brands: Include 3D mockups and full QC checklists for 5000+ pcs efficiency.
FAQ
Q: Can MOQ be lowered if my Tech Pack uses existing fabrics?
A: Yes. With detailed BOM referencing our stock 320GSM French terry, MOQ can drop to 100pcs via combined cutting.
Q: Should I include tolerances in the size chart?
A: Absolutely. Our factory standard is +/-0.5cm for critical points; without it, we must add conservative buffers that increase your cost by 7-10%.
Q: What file format works best for Tech Pack?
A: PDF (layered) + Excel BOM + AI vector files. We can import directly into our CAD/CAM systems.
Q: How often should I update my Tech Pack?
A: Every revision—maintain version history. We review changes within 24 hours.
Q: Does a good Tech Pack affect lead time?
A: Yes. Complete Tech Pack shortens sampling from 21 days to 10-12 days.
Conclusion: The 2026 Production Frontline Perspective
From cutting tables and sewing lines in 2026, one trend is undeniable: brands that treat the Tech Pack as a living technical blueprint—not a marketing afterthought—consistently achieve 40% faster time-to-market and 22% lower overall production costs. Detailed size charts, sewing instructions, and BOM are not paperwork; they are your insurance policy against costly surprises in a market where supply-chain volatility remains high.
Realizing this level of precision and efficiency comes down to more than templates—it requires a manufacturing partner that speaks your technical language and protects your brand vision. This is the exact core value of professional OEM/ODM factories like heziapparel.com. We don’t just manufacture—we review your Tech Pack drafts for free, optimize GSM and construction for cost and performance, and deliver consistent quality from 100pcs to 10,000pcs runs.
Ready to turn your next collection into reality? Visit heziapparel.com today and upload your Tech Pack for an expert production assessment within 48 hours. Your most profitable collection starts with the right Tech Pack.